Step 1: Supplies & Tools Needed
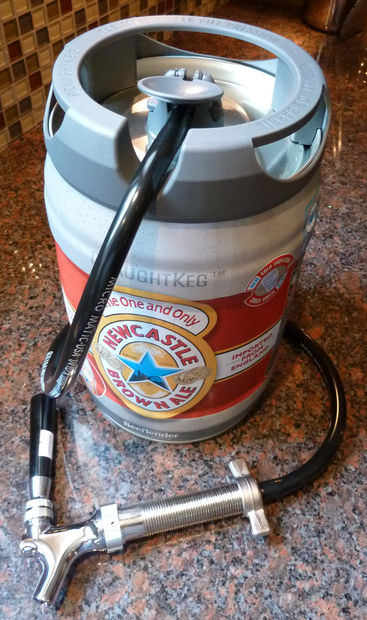
A tapped Mini Keg
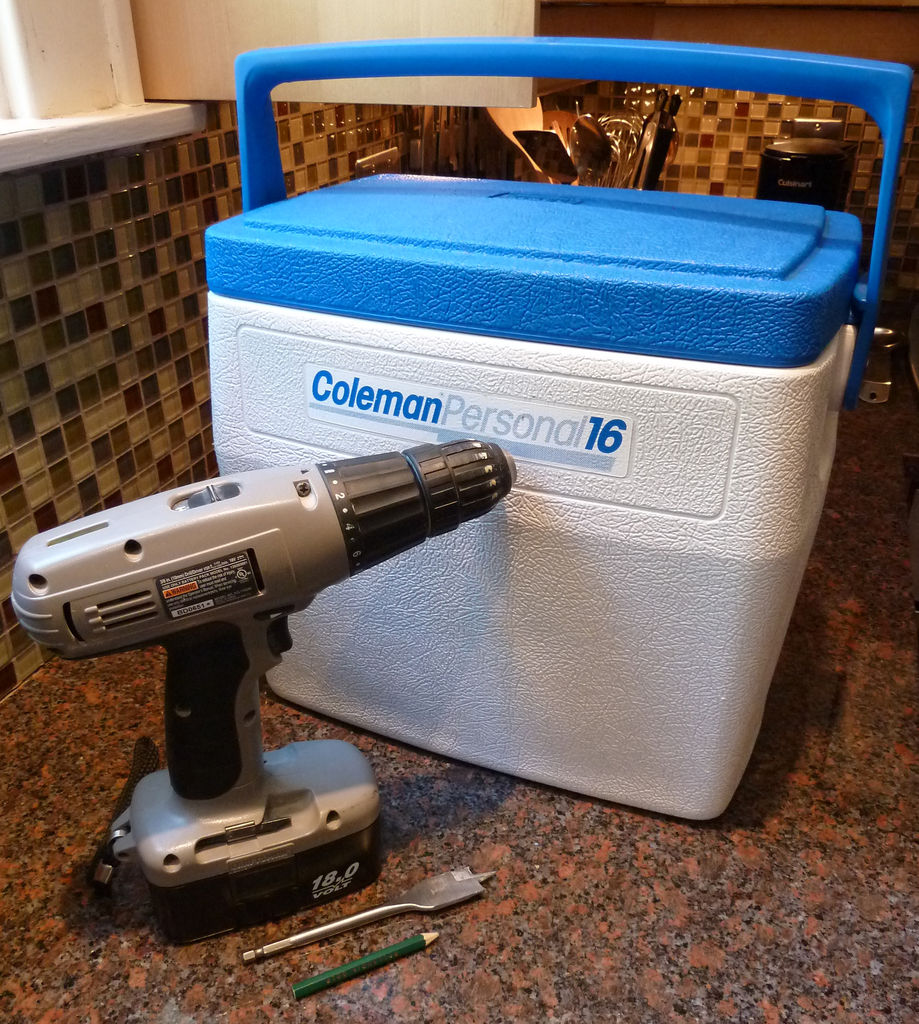
Small Cooler: I am using the ‘Coleman Personal 16’ which I have had for some time. The mini keg fits perfectly inside the cooler with plenty of room for ice to surround the keg and keep the essentials nice and cold.
Tools Needed:
Electric Drill
1 Inch Flat Drill Bit (measure you shank’s diameter to determine the proper bit)
Shears for Cutting Plastic
Pencil or Marking Tool
Step 2: Notch Out the Cooler
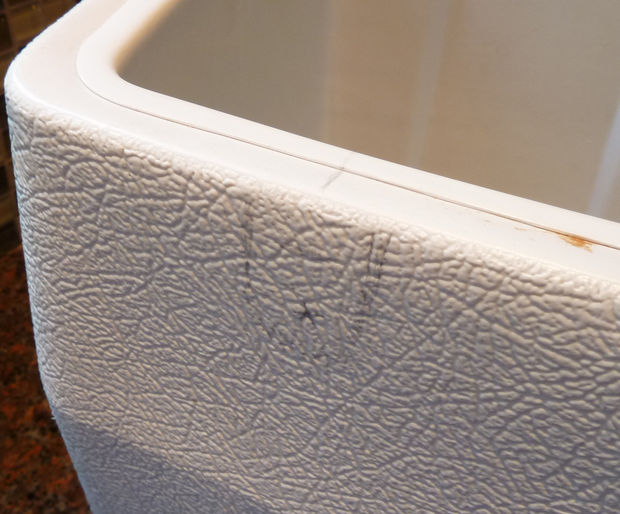
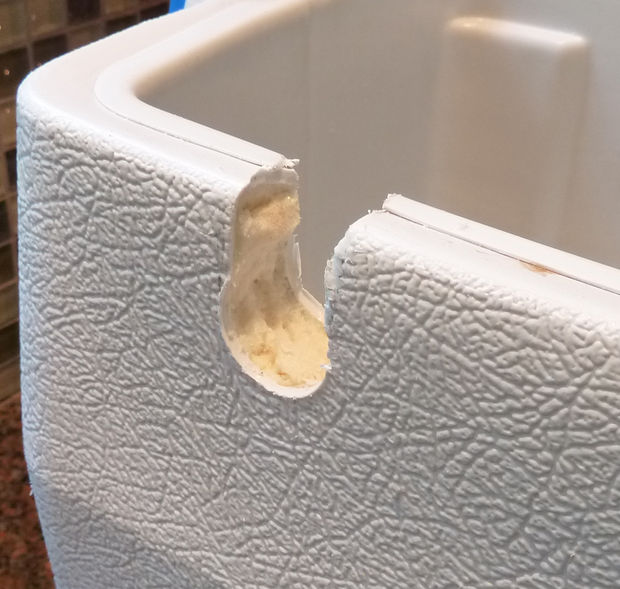
As I intend to move the tap from the fridge and into the cooler and then back to the fridge again, it is important that the transition be efficient and easy. Although you could bore a dedicated hole for the tap shank, I decided to cut out a notch from the top edge of the cooler so that the tap could be easily inserted and removed without having to dismantle the keg faucet.
Determine the best location for the hole and mark where you will drill. I intend to keep the keg as centered as possible so my faucet will be located off center from the middle of the cooler. Make sure you make your notch low enough that the lid can closes properly but not too low to reveal a gaping hole above your tap.
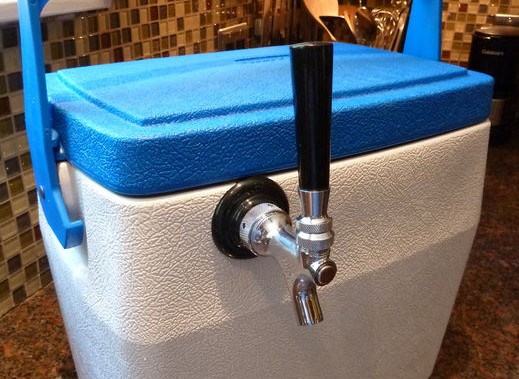
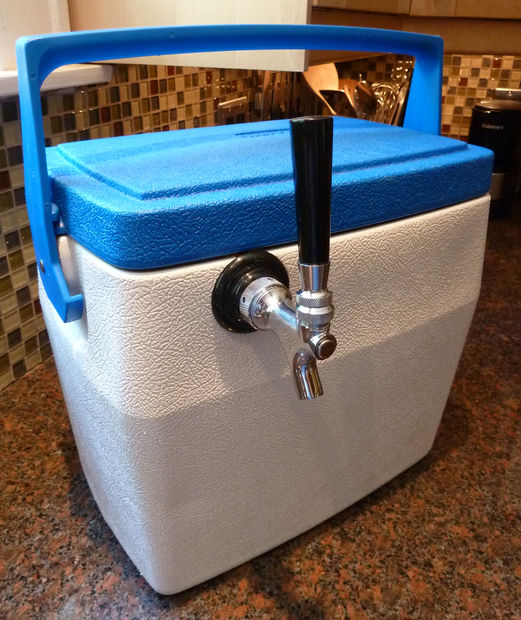
Step 3: Assemble Rig
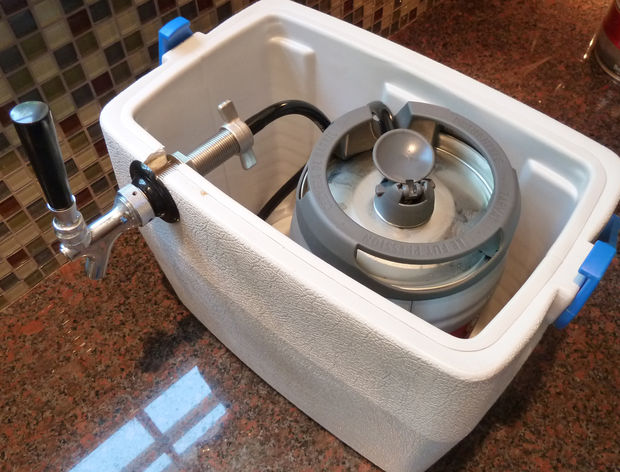
Once you have cut the notch out of the cooler you are ready to install your keg setup. Slip the faucet shank into the cooler’s notch and tighten it in place with the shank bolt. Fill the cooler with ice, install the cooler lib, and your mobile draught keg is ready to go.
Hope you enjoyed this versatile keg – its been fun putting it together.
Be the first to comment on "DIY To-Go Keg"